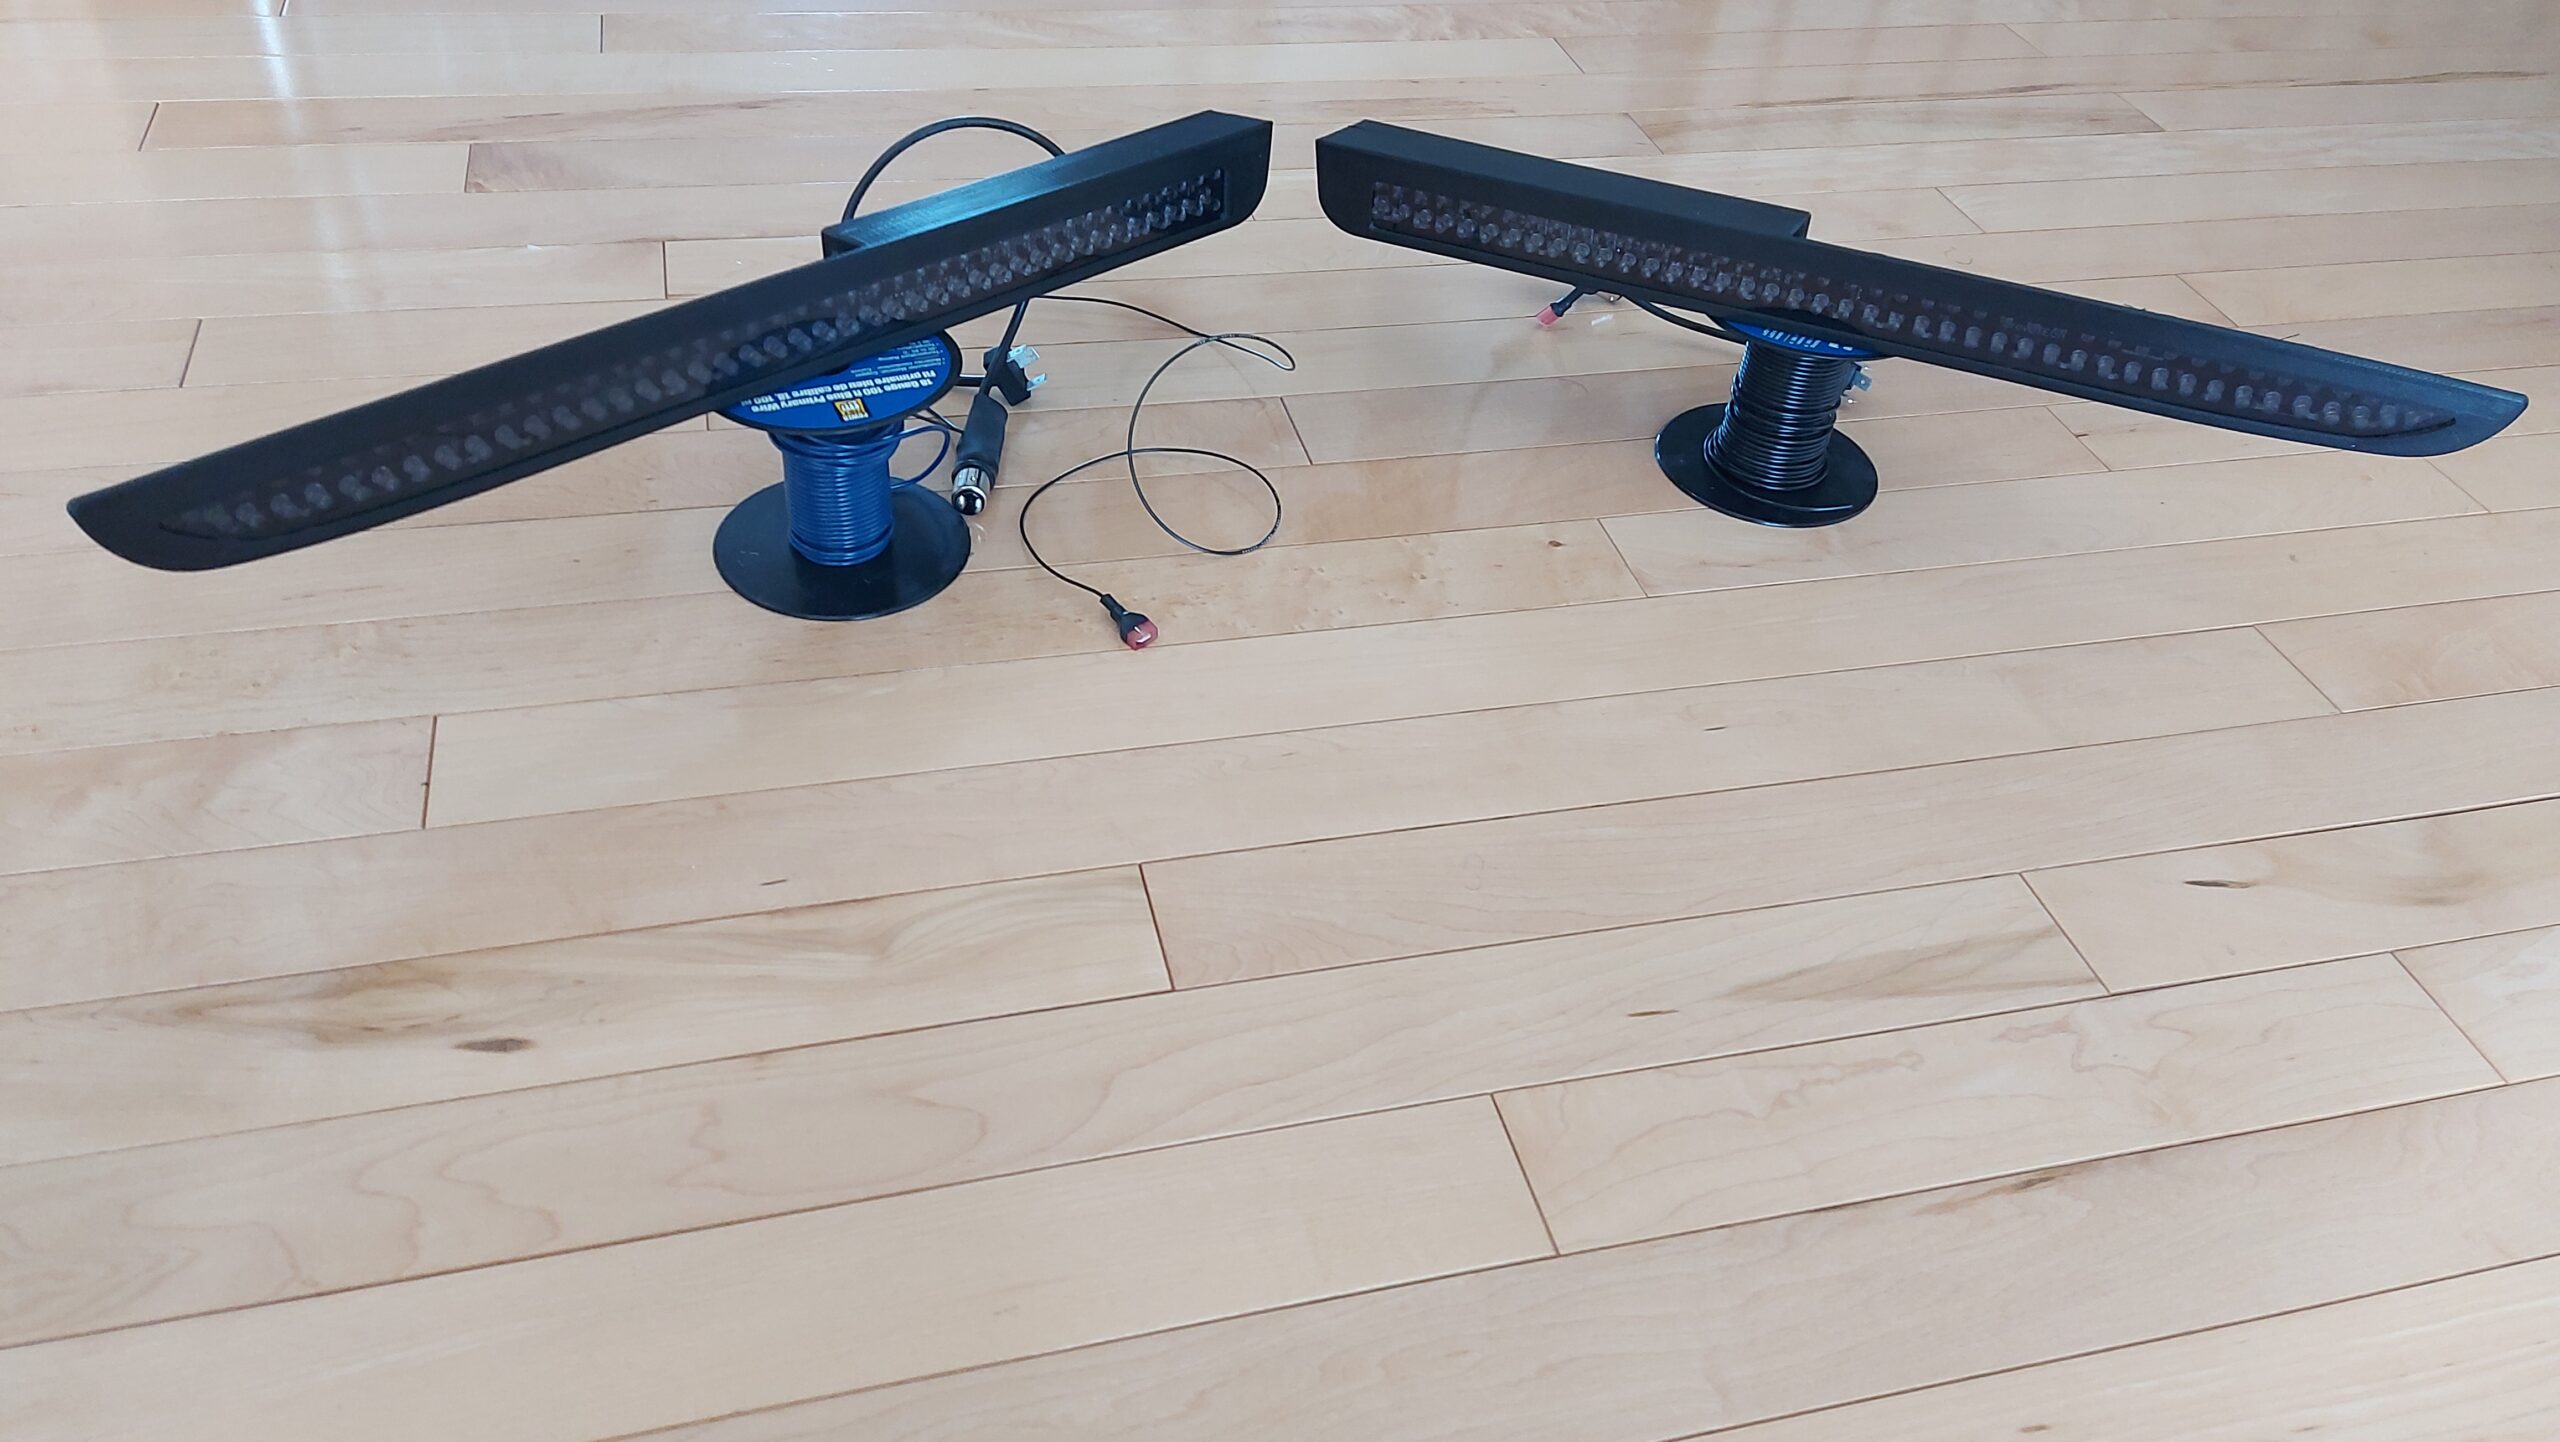
Pop-Up Headlight Delete Kit – Plug and Play (1985 – 1990 Firebird)
April 11, 2022
Retrofit Firebird Headlight Control Module (2-Wire Motors) (1984-1992 Firebird)
September 21, 2022Retrofit Hatch / Convertible Release Switch (1982-1992 Camaro)
$130.00
4 in stock
Categories: 1982-1992 Camaro, Automotive, Order
Tags: camaro Convertible firebird hatch led switch
*** Beta Testing Notice! ***
- This product is relatively new and is in a testing phase. If you purchase this item and experience something out of the ordinary, please contact me and let me know immediately, so I can continue to perfect the design. (Bravendirk@gmail.com) A FREE updated replacement will be sent to you ASAP. The main goal is always to provide high quality products. Thank you so much for your patience and understanding.
***Price is per switch (In US Dollars)
Made to Order
Version 4.1.0 Features:
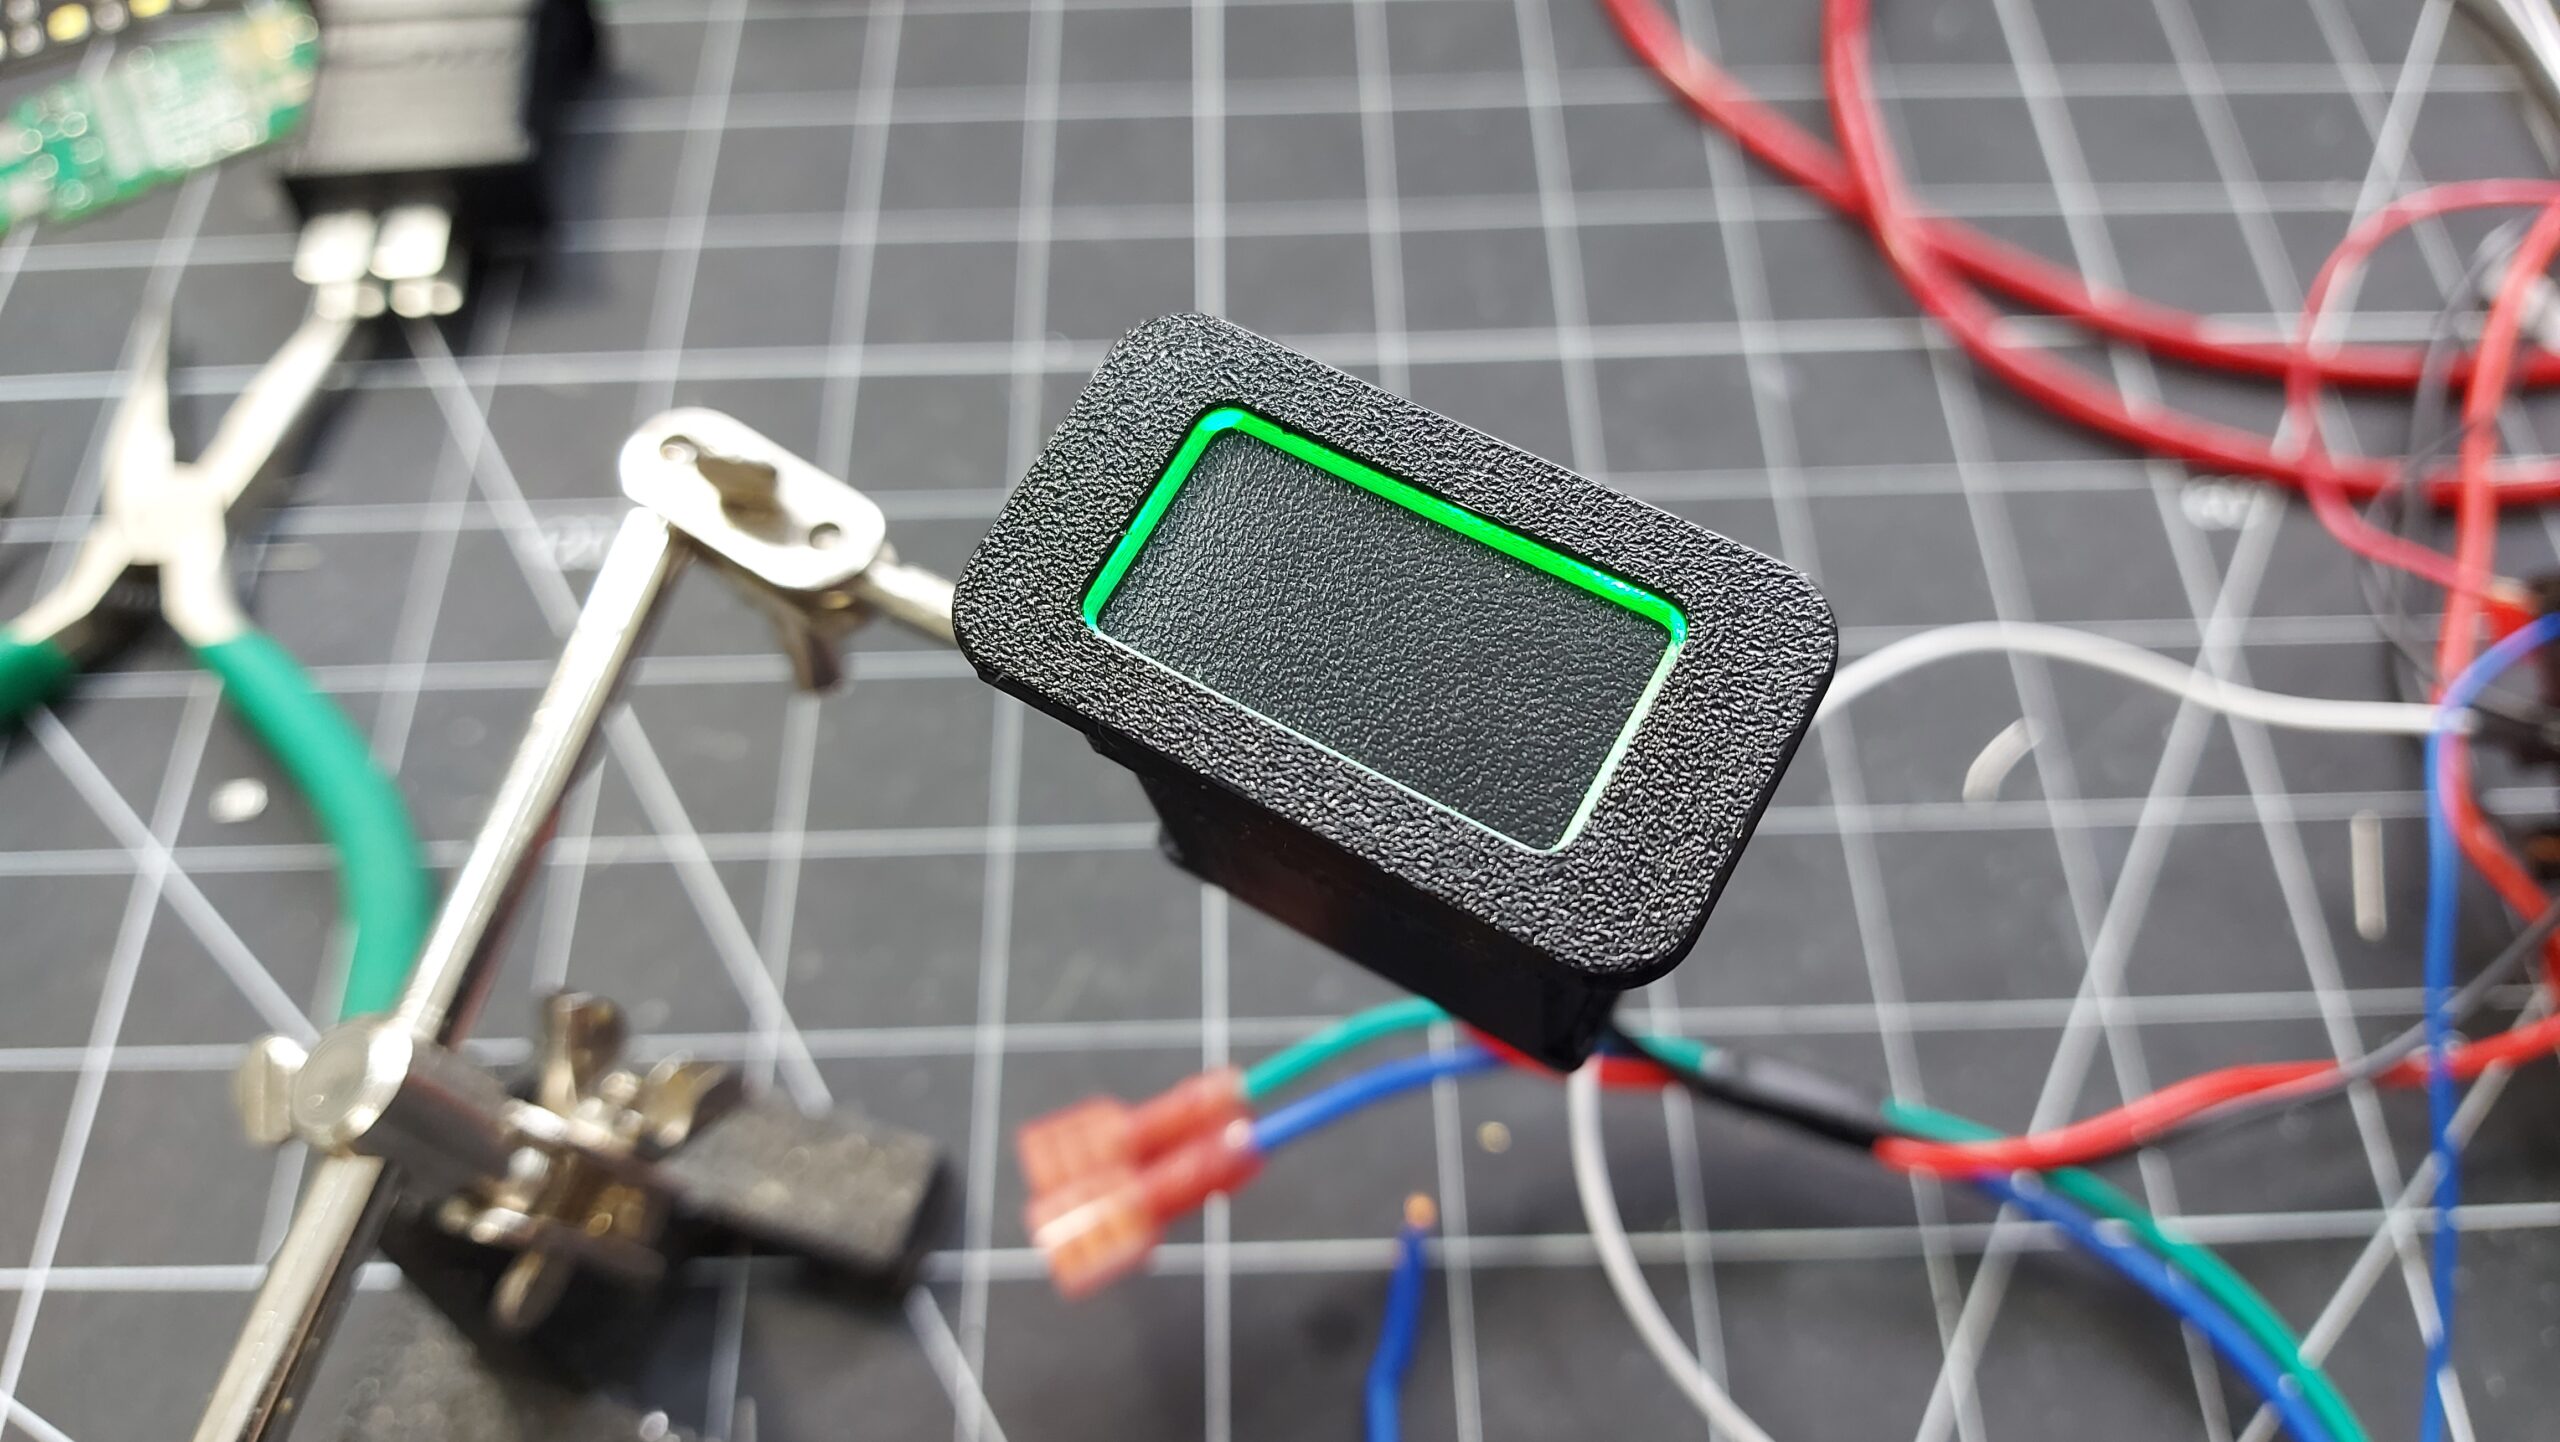
- The Down button is used to open the hatch. The Up button is only used for changing light colors.
- Onboard Auto Resetting Thermal Fuse. This fuse will fully disconnect power to the switch and motor if the circuit board reaches 185 Degrees F (85 Degrees C)
- Faux Leather Touch Pad
- Neopixel RGB LED display
- User selectable display colors (Red, Green, Blue, Yellow, Cyan, Purple, Orange)
- Temporary “ON” feature. This is a safety feature where the button will only apply power to the release actuator for 500 milliseconds before it automatically disconnects power for 1 second. This prevents overheating of the release actuator.
Installation:
- Turn off vehicle ignition
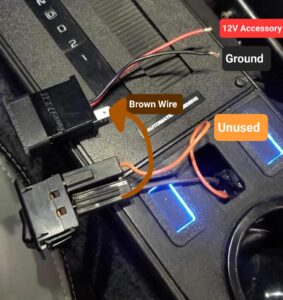
- Remove factory switch
- Connect the red wire of the BraveTECH switch to a 12V “accessory wire” (Only live when the ignition is turned ON). Otherwise the LEDs will be ON all the time. You can splice into the window switch 12V wire, as it is switched by the ignition.
- Connect the black wire of the BraveTECH switch to a dedicated ground
- Connect the Brown Wire of the factory switch to the male “Spade style connector” of the BraveTECH switch. This spade connector provides a path to ground that activated the factory relay, when the button is pressed.
- The remaining colored wire of the factory switch is unused and will be abandoned.
- Gently press the switches into the center console bezel and carefully rock the switch into place until it is firmly seated
- Ensure you can feel a small “click”, when pressing the center of the button, prior to powering up the vehicle
Notes:
- The onboard resettable thermal fuse is there to protect the circuit board components from thermal damage. If you live in a location that is exceptionally warm, please use windshield sun reflectors to prevent the sun for overheating your vehicle interior.
How to Change Lighting Colors:
- While the vehicle ignition is on (so the switches have power), use two fingers to press and hold the Up and Down buttons at the same time. Hold for about 2 full seconds, until a white light flashes. *** Press the Up button first to prevent the hatch from opening ***
- Once the white light flashes, release the Up and Down buttons. You are now in the color select menu.
- You can now press and hold the Up or Down button to select a new color. You need to press and hold the Up or Down button for one full second before the new color is selected.
- Once you have found the color you’d like for this switch, use two fingers to press and hold the Up and Down buttons at the same time, until a white light flashes.
- You have now successfully changed and saved your new color =)
| LED Colour | 5000K White (+$15), Blood Orange, Blue, Blue (+$15), Cyan, Green, Green (+$15), Purple, Red, Red (+$15), White |
|---|
Be the first to review “Retrofit Hatch / Convertible Release Switch (1982-1992 Camaro)” Cancel reply


Reviews
There are no reviews yet.