Project Startup Information:
- Pre-Order Start Date: November 6 2024
- Pre-Order End Date: December 6 2024
- Project Completion Date (Ready to begin shipping): March 6 2025
- Estimated cost of final product: $900 USD
- Minimum project startup pre-orders: 20+ pre-orders
- 20% pre-order coupon (Use this at checkout to pre-pay the initial 20%): CamaroTail20
How does this startup pre-order work? (Please read)
- Before I begin this project, I need at least 20 people to pre-order this product before the “Pre-Order End Date“, listed above.
- If the minimum pre-order goal is met or exceeded by the “Pre-Order End Date“, I will begin the project. I will need 3 months to complete the design and begin shipping orders by (March 6th). If the project is to succeed, it is important for everyone to please share this product page and encourage others to pre-order.
- If the minimum pre-order goal is met by the “Pre-Order End Date“, the 20% pre-order amount will not be refundable, if you decide you are no longer interested in the product. These projects are a massive undertaking and are very expensive to create.
- If the minimum pre-order goal is not met by the “Pre-Order End Date“, all pre-orders will be refunded within a couple of days and the project will be abandoned, due to lack of customer interest. If the project is to succeed, it is important for everyone to please share this product page and encourage others to pre-order.
- If you have pre-ordered with the 20% code ( CamaroTail20 ), please note that the remaining 80% will need to be paid when your order is ready to ship.
Why do they cost so much? (I promise, I’m trying my best to keep costs down)
- Each pair of tail light frames takes 80 hours to print.
- The very large, custom LED displays are incredibly expensive.
- The large, laser cut Polycarbonate lenses are very expensive.
- A custom machine will need to be designed to thermal form the lenses.
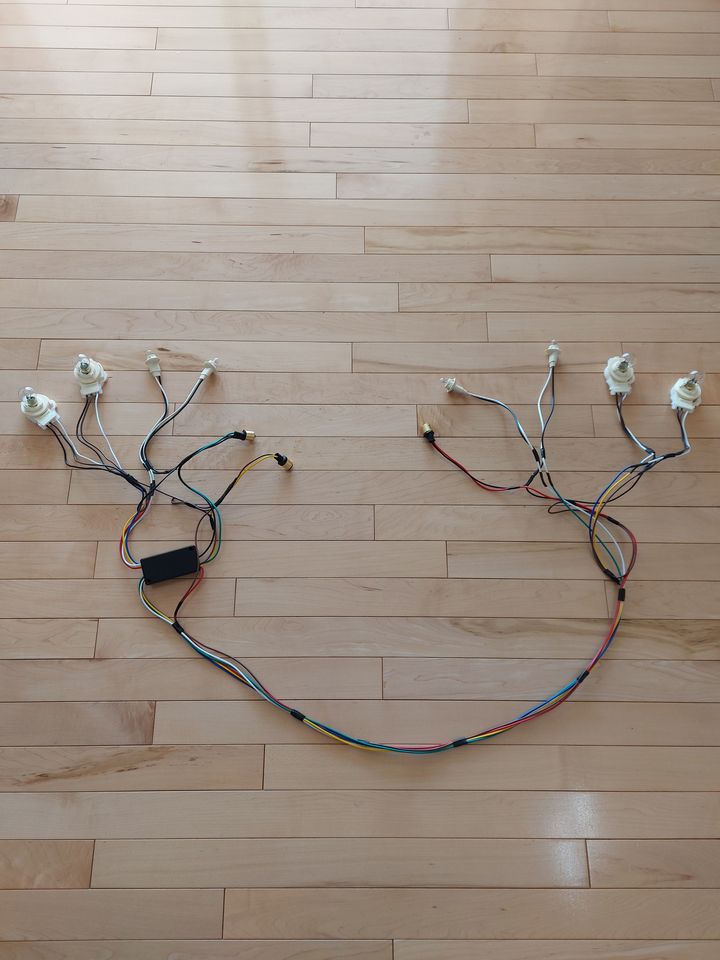
- The manufacturing, assembly / Plug and Play wiring harness all take a significant amount of time.
Cost comparison:
- Klearz lenses (Resin Poured) (Prone to warping and yellowing. Not made often) = $475 USD
- Competitor LED panel kit (Not plug and play, no reverse section panel, no mode selections, No Bluetooth, Not RGB LEDs) : $300 USD
- Total cost for the two items above would be $775 USD.
- The BraveTECH kit will have better quality lenses and far better, more customizable, plug and play, LED displays with Bluetooth.
Version 1.1 Features:
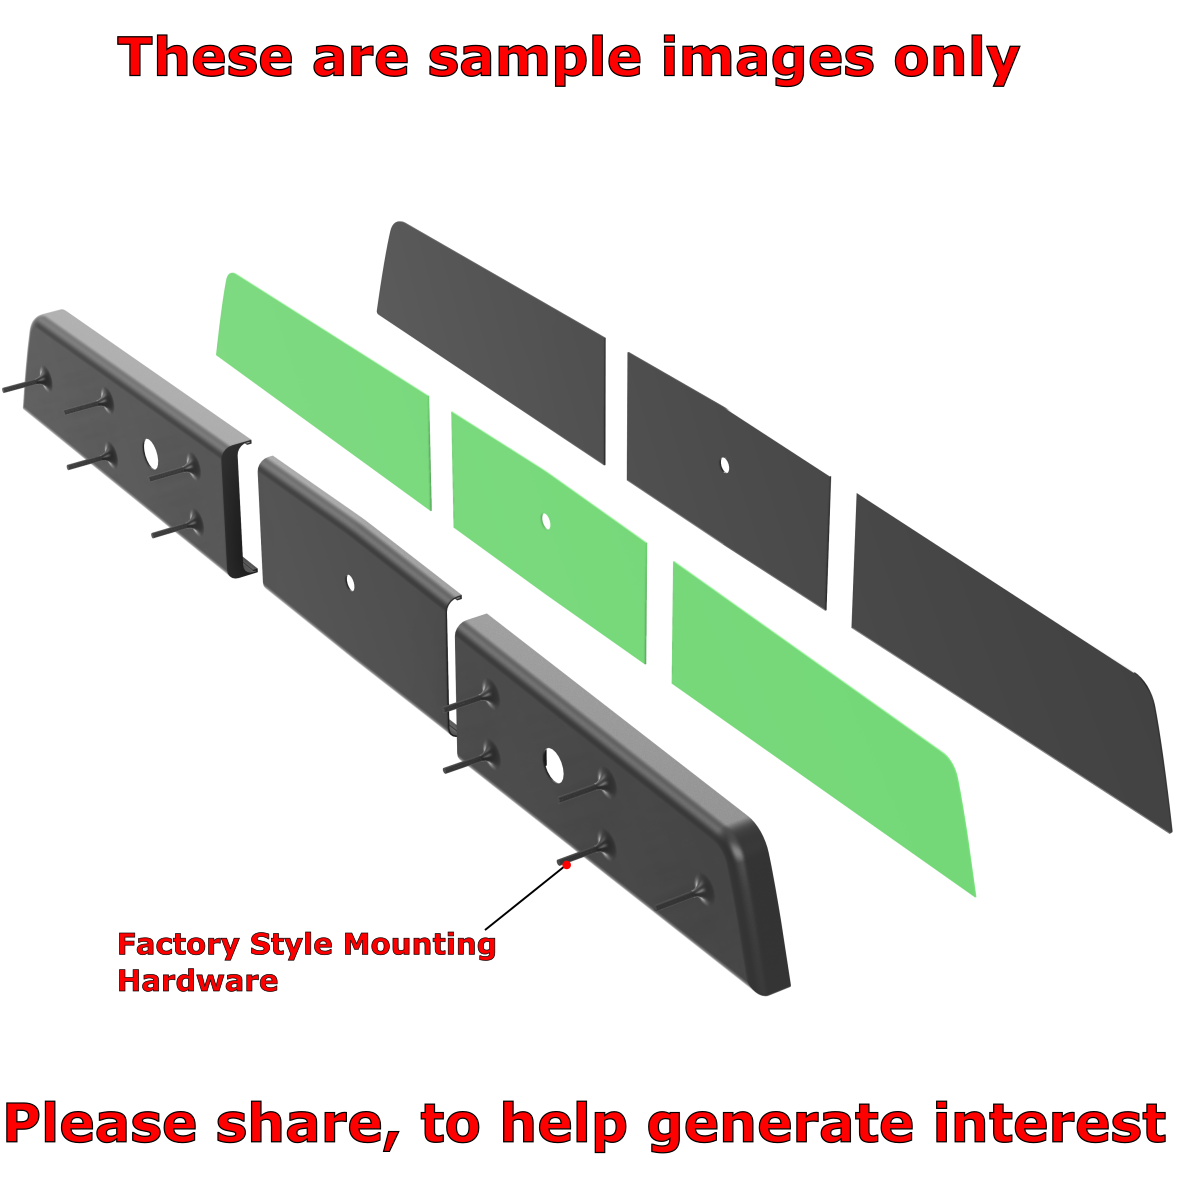
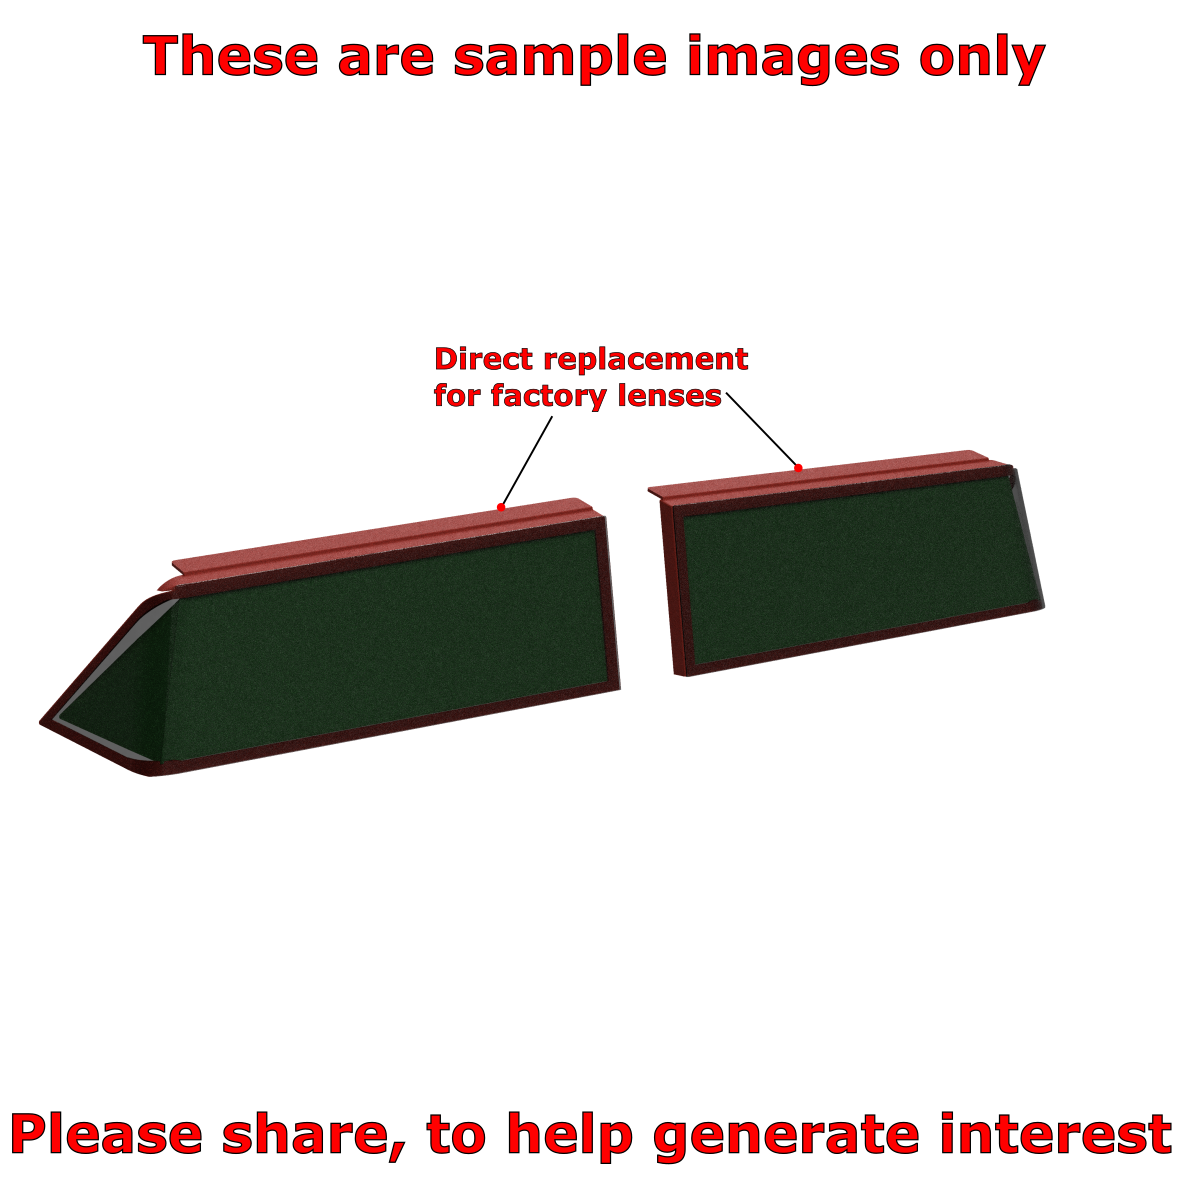
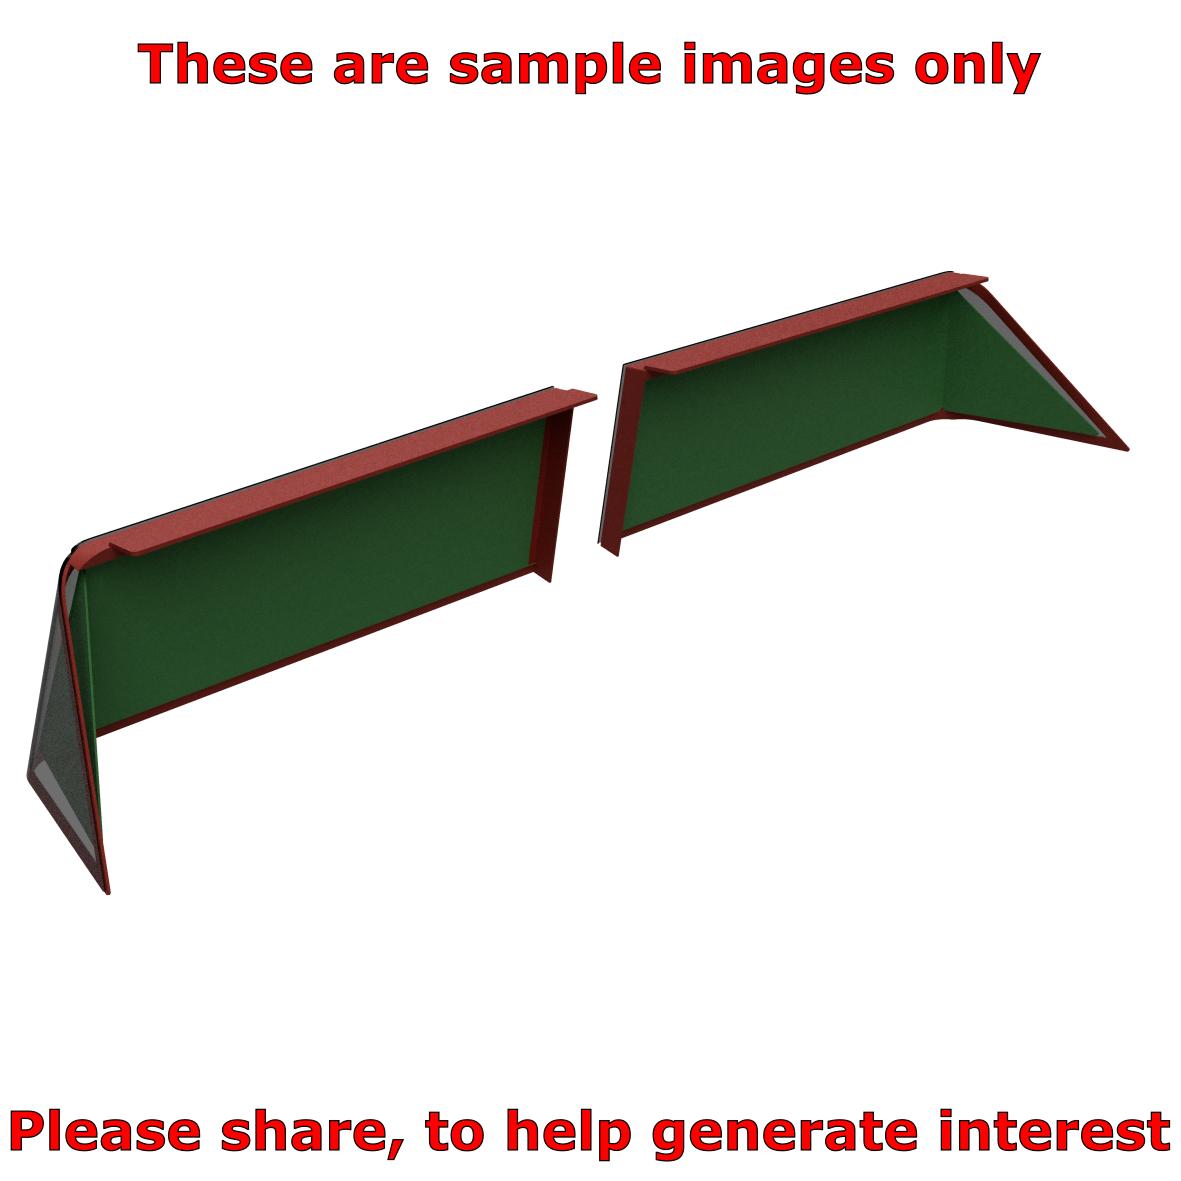
- Custom tail light lenses that fit your factory Camaro housings
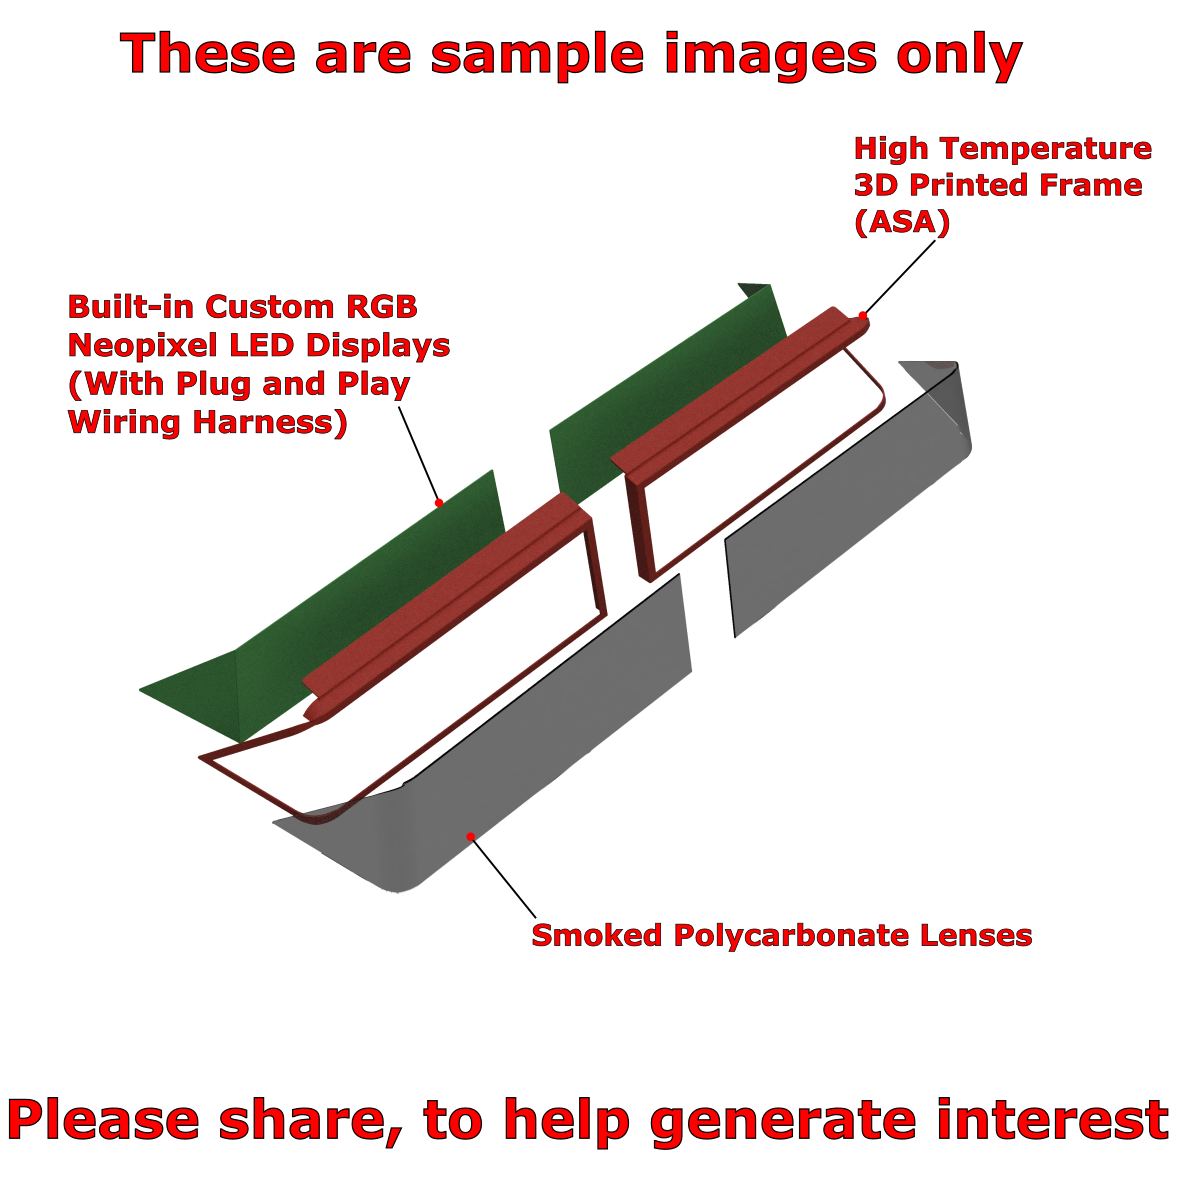
- Full RGB Neopixel LED displays will be built into the lens kit. LED displays are fairly easy to replace, if ever required.
- Laser cut, smoked polycarbonate lenses. Lenses are fairly easy to replace, if ever required.
- Plug and Play ( Only one 12V wire will need to be connected to your ignition accessory wire)
- Bolt-On …Well, “Glue-On”. Custom tail light lenses, Lens frames, and RGB LED display will be adhered to your factory tail light housings.
- Bluetooth app controls for Android on the app store (BraveTECH Bluetooth Controller)
- 8+ driving modes to select from via the app.
- Multiple Show Off modes to select via the app.
Installation:
- Install an electronic signal light flasher. Do not skip this step.
- Carefully remove your factory lenses from your tail light housings
- Temporarily install the BraveTECH tail light lens / display combination for testing
- Connect the provided adapters to your factory Brake, Signal Light, and Reverse pigtails. All adapters will be labeled.
- You will need to provide a 12V wire from your ignition accessory wire to the tail lights. Connect the new 12v accessory wire to the 12v wire labeled on the kit. Please use at least an 18 AWG wire for the 12v accessory wire. Please install a 15 amp inline fuse for this 12v accessory wire. You want the display to only receive 12V when the ignition is turned On.
- Connect all communication wires together and make sure all adapters are installed correctly.
- Fully function test the display.
- After function testing, permanently install the BraveTECH tail light lens / display combination with an adhesive, such as silicone or RTV gasket sealer.
Sample Videos of Other, Similar Tail Light Projects:

Reviews
There are no reviews yet.